

With all things coconut trending in the food world and all things probiotic gaining popularity in the health arena, this little dandy is a delicious, simple drink that has wonderful health and digestive benefits. (As if the benefits of regular coconut water aren’t RIDICULOUS enough… Sheesh.) And it can be a great first fermentation experiment for the culturing newbie because it’s easy-peasy-coconut-squeezie.
(If you are wondering what kefir is or you know just enough about it to be a little scared, here’s a simple primer.) Otherwise, let’s do this!
The first step is to locate some kefir grains (which is easier than it sounds.) If you haven’t already (and just for the fun of it), begin to infiltrate various health communities in your area like meet-up groups, health food stores, farmers markets, food co-ops, etc. and start asking around. Even my homeschool mom email list, Weston A. Price local chapter, and local freecycle group abounds with health nuts willing to share the extras of their prolific grains, scobys, and sourdough starter. (Don’t get me started on sourdough – it deserves a post of its own…)
If your specific locale seems grainless, you can also purchase grains and starters from great websites like Cultures for Health or Cultured Food Life.

Water Kefir Grains Photo credit: floridecires Flickr photo stream
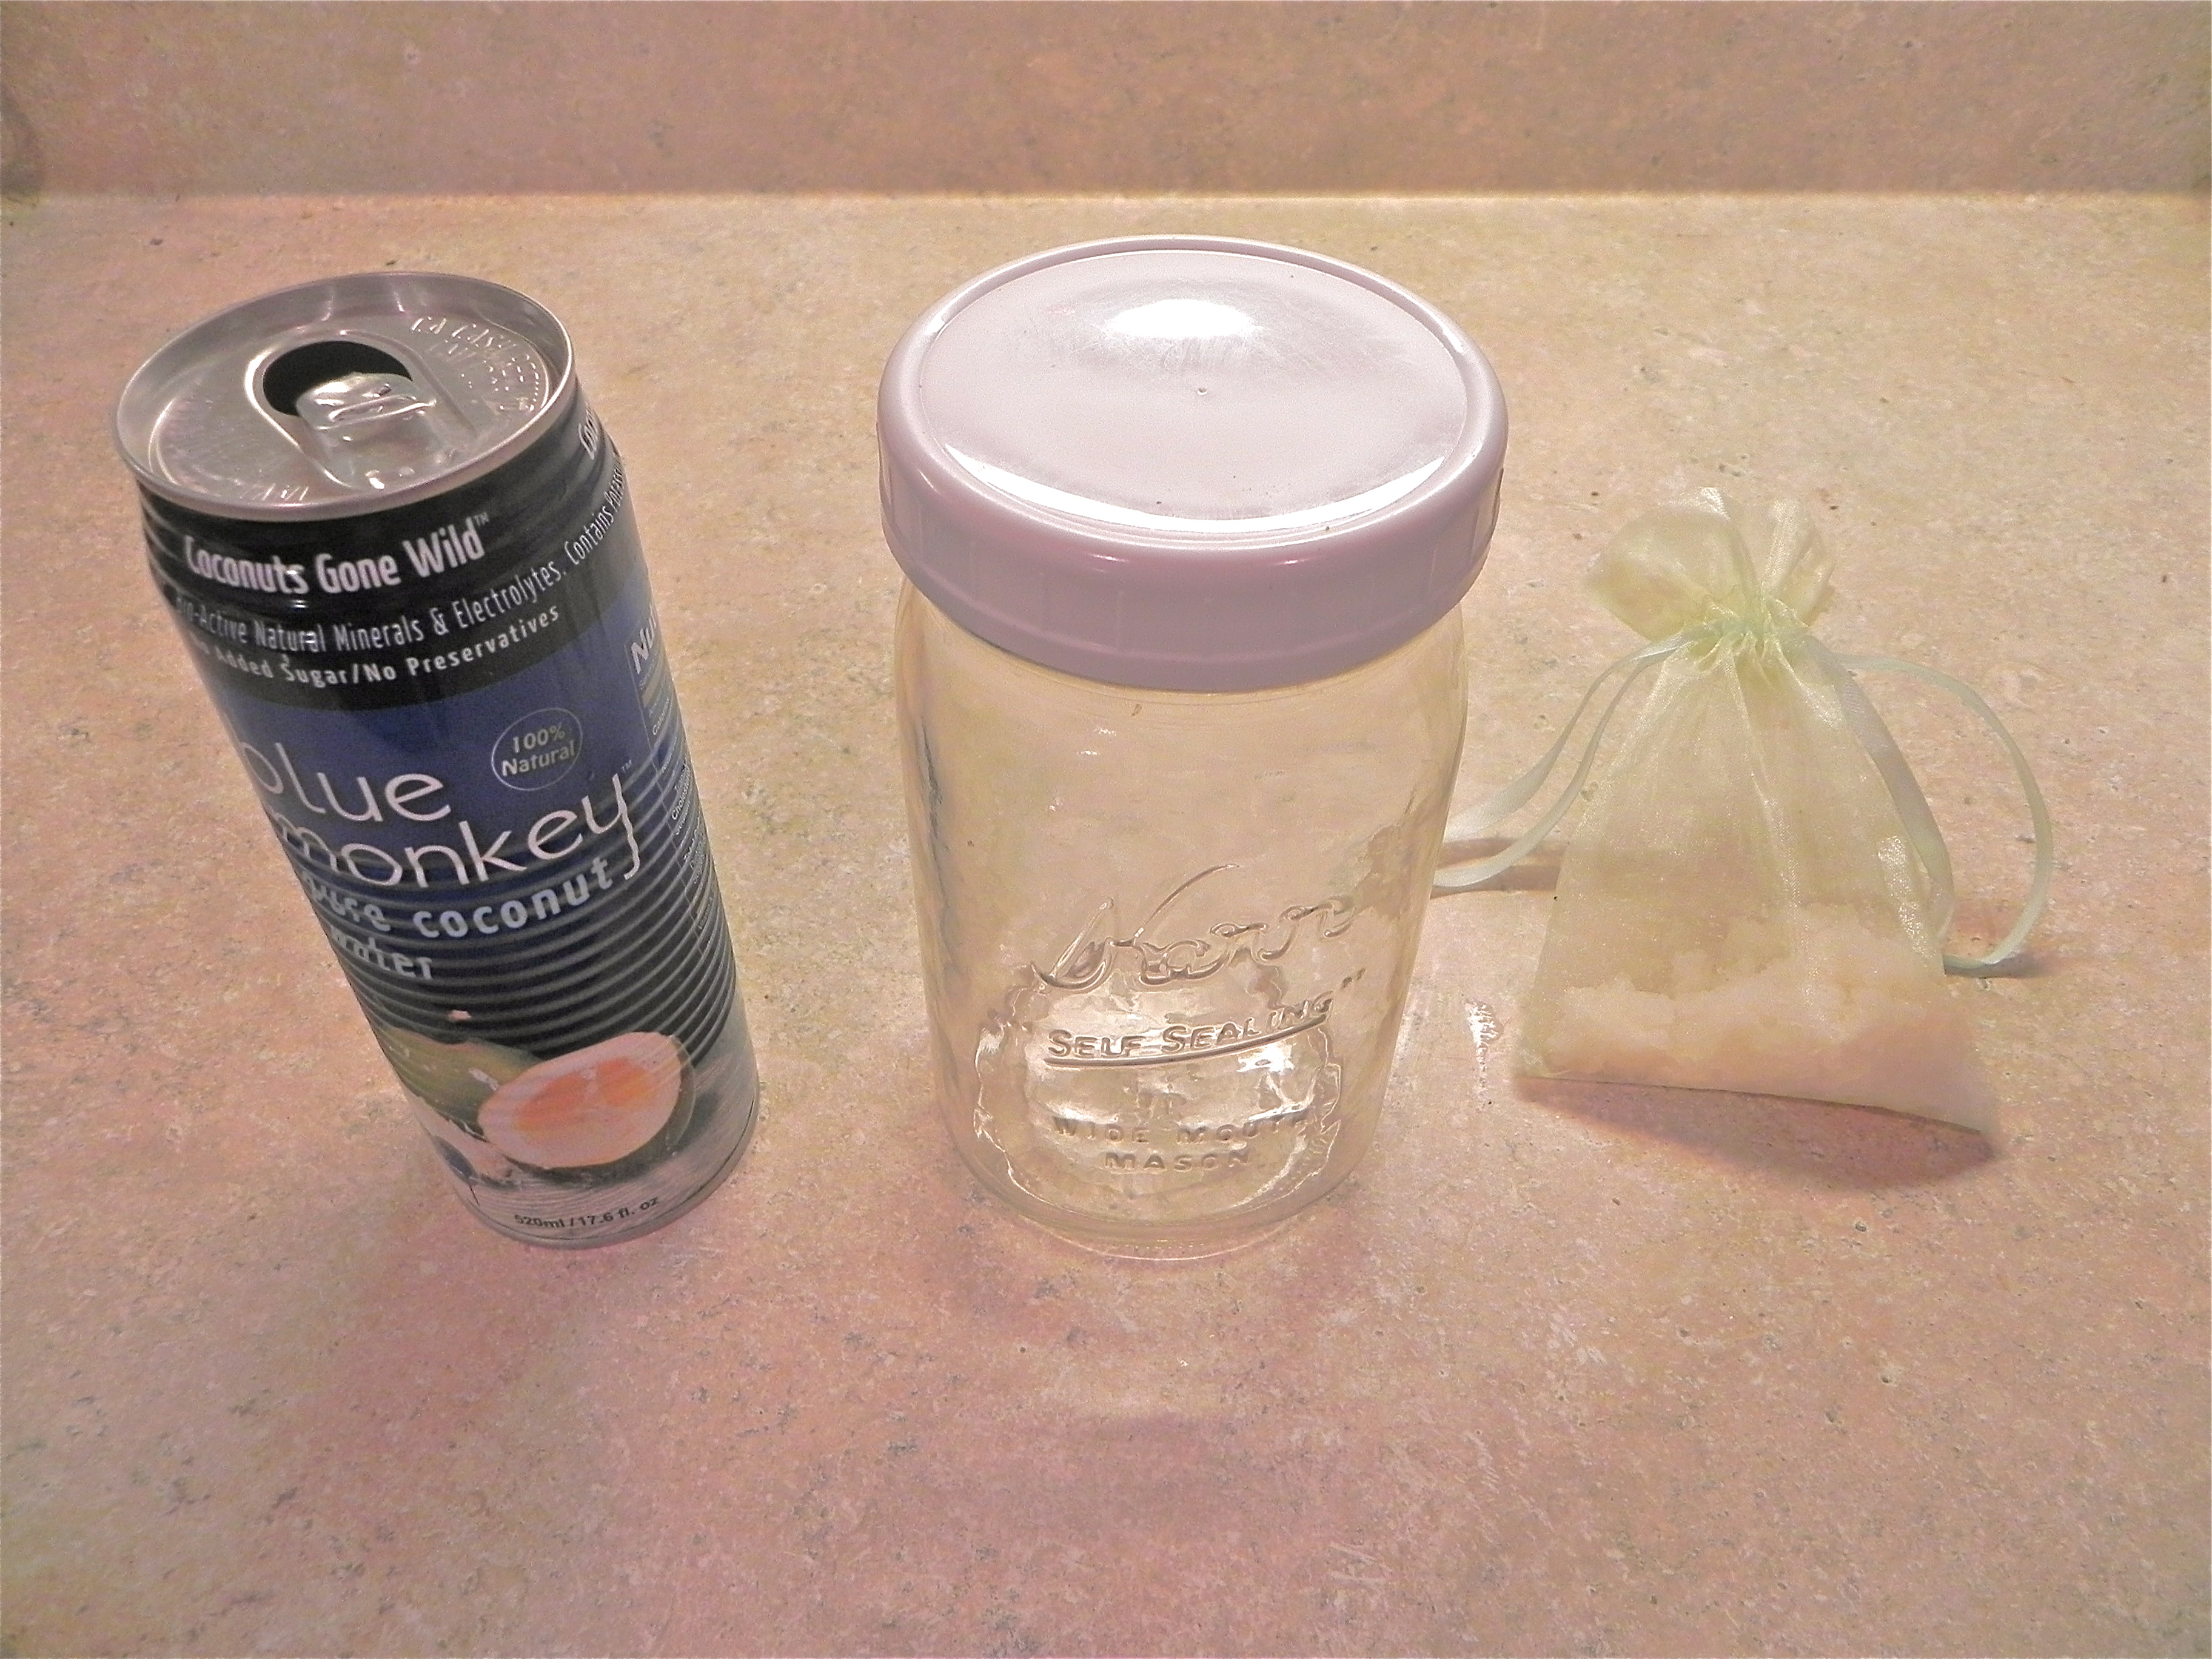
Next, purchase some coconut water (be sure to research the purity and ethical harvesting of the brand), dig through your collection of jars and then try to find a lid that matches. (Am I the only one?)
My tip for making the art of working with kefir grains even easier, is to get a hold of one of those little mesh drawstring bags from the craft store and put the grains inside. (I had a couple stored away in my stock of gently used gift bags. True Shesources rarely pay for gift wrap…) That way you can take the whole kit and kaboodle out when the fermenting is done and plop it into the next jar full of coconut water – instant straining with no need to go fishing for rogue kefir grains! (Ask me how I know… And you’re welcome.)
Set the jar to ferment at room temperature and check the taste everyday. I find that after the first day it is still sweet and has become bubbly enough to taste like a delightfully coconut-y soda. It will get more sour the longer it ferments, so stick it in the frig to stop the fermentation process when you get to the taste you prefer.
Over the weeks and months, you will notice that they will multiply and you will have to find a fermenting friend to pass them on to or try a new recipe. Otherwise, you will notice that your experiments are fermenting faster and faster. You can always put some in your compost bin to get things going or eat them if you are brave/crazy.
If this all sounds like too much, you can purchase coconut water kefir from your local health food store. I met the co-founder of Inner-Eco and she has been aware of and bottling the benefits of this health elixir for years. They have a great product and are a small business worth supporting.
Remember to include a probiotic rich food or drink with each meal. And I like to drink my coconut kefir soda in the evening after one of my sweet, yet healthy desserts.
Here’s to a happy gut!
What is your favorite way to drink your probiotics?
Related Posts: Fermentation 101 and Coconut Milk Ice Cream

I like this post very encouraging. 🙂
Pingback: The Elves and the Homemaker (Or “Getting Chores Done While You Sleep”) | Shesourceful
Pingback: RECIPE: Nourishing Citrus Smoothies | Shesourceful
Pingback: Healthy Jello? Hello! | Shesourceful
Pingback: Life Hacks with Food Scraps | Shesourceful